Table Of Contents
- Introduction
- Deploying updates using Bitbucket Pipelines
Introduction
Within this article, the process of updating a custom connector is described. A Custom Connector is a piece of software that enables connectivity within Alumio to the platform(s) the custom connector was developed for. It usually offers the required clients, incoming/outgoing, and transformer configurations.
Deploying updates using Bitbucket Pipelines
Deploying an update for custom connectors requires you to run a Bitbucket Pipeline which is designed to perform the update for you.
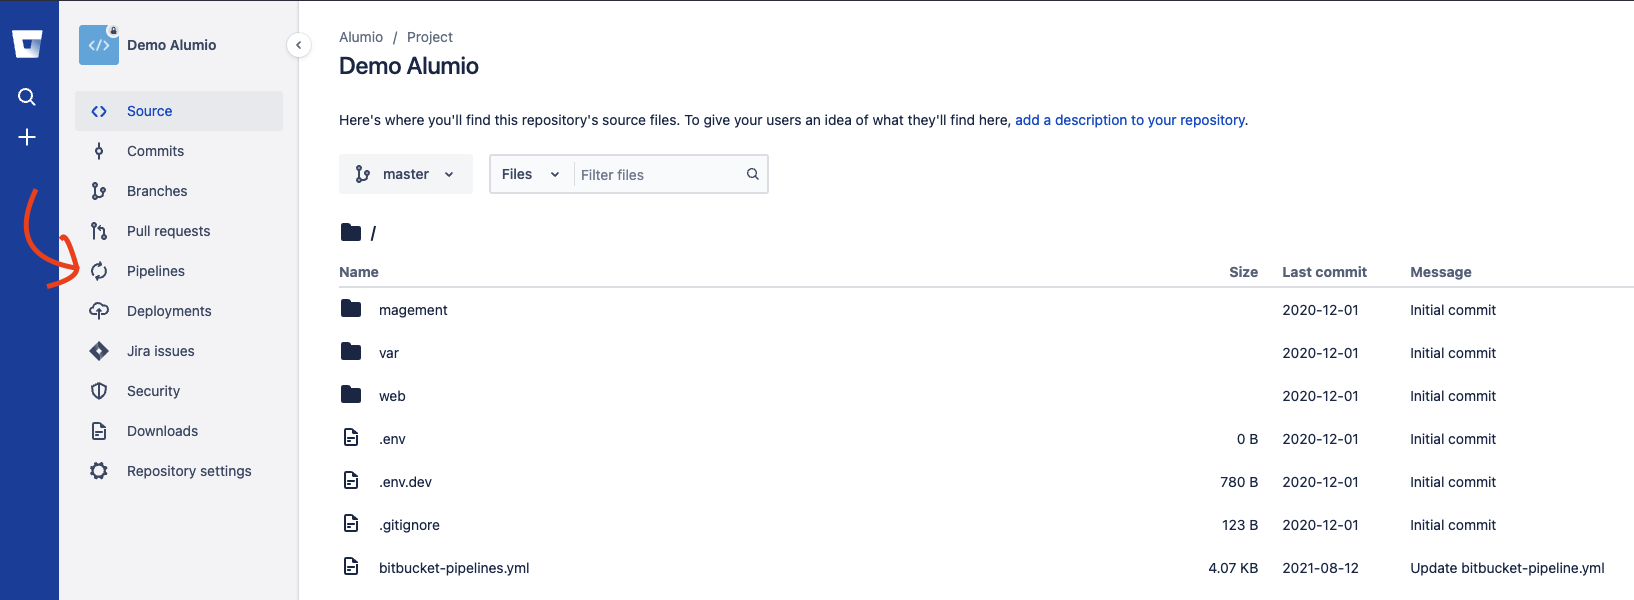
First, navigate to your bitbucket repository and then go to Pipelines.
After that, on the right upper hand find and click the Run pipeline button. This should trigger an overlay.

Within the overlay you must select the following options:
- Branch - Always select master
- Pipeline - Always select custom: update-Alumio
- Variables
- TAG_PREFIX - Updates are automatically being tagged. Within Alumio we use the current year as the tag prefix, i.e. 2021
- TAG_RELEASE - Indicates whether the update should be done to UAT or both UAT and production. Leaving this empty will only run the pipeline for the UAT environment while populating it with the 1 value will deploy it to both.
- COMPOSER_PACKAGES - This field indicates which custom connector packages need to be updated. Multiple packages can be listed with a space in between.
Lastly, click on the Run button to initiate the update.
